

DIY Breakfast Nook Makeover!
- Haley Albert

- Sep 29, 2020
- 3 min read
This post is long overdue! Our first house was a fixer upper. I've always loved fixer uppers because you can customize the space as you please. One of the first spaces to get a makeover was the dining space. I couldn't bare to look at that high gloss brown paint for one more second. This house was a 1,300 sq ft. home that was built in the 80's. When we bought the house we knew we would be doing many DIY projects throughout. Trust me when I say, this makeover didn't happen over night. It took a lot of time & patience. So with out further ado... let's get to the fun stuff!

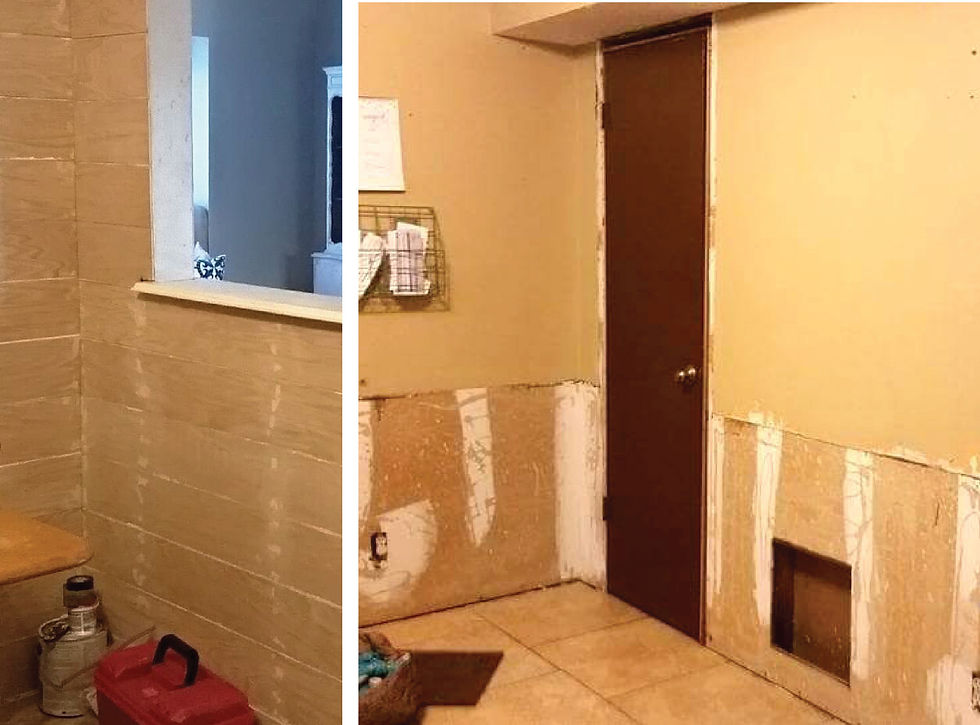
BEFORE! Here is a picture from the day we went to the open house. Definitely not our style but I could see the potential in this quaint little space. But I will tell ya' - I COULDN'T WAIT to get rid of the horrid glossy brown paint that was all over the ENTIRE house!
So we started by ripping off the wall paneling & trim! BUH-BYE glossy brown awfulness. Next we primed the walls - 2 solid coats so the color that would show through the "ship-lap" would not be yellow but white.
The Shiplap: Basically we went to Lowe's and found a thin smooth plywood that we liked. We determined the width we would like each strip to be and had Lowe's cut the plywood down to that exact size of strips. Next, we sanded down the edges with a sanding block to remove any splinters. Using nickels as spacers between each board along with liquid nails & a nail gun - we secured each strip to the wall. We used a circle saw to cut the boards to the lengths we needed throughout space. Once we had all of the boards on the wall - I filled each nail gun hole with wood putty. Lightly sand over each board getting rid of any rough patches and removing excess wood putty. It's time to paint! Using KILZ Premium high-stain blocker & a 6 inch foam roller - we primed everything! (Doors & Trim included) Being careful not to press too hard - we wanted to avoid paint getting the cracks between each board. It took probably 3 coats of primer to get it to where I wanted it. Next, we painted the shiplap & doors with our desired paint color. This took 2 coats of Valspar Paint + Primer. & FINALLY we sealed it! Sealing it is a very important step to keep your shiplap clean! We used Minwax Polycrylic Matte Finish & a foam roller to seal all of the shiplap, doors, & trim. Woo! I was so happy to have this portion of the project finished! This project took a lot of patience and time.

This space has seen 3 kitchen tables in only a few short years lol! Slowly but surely I've been able to turn it into what it is today! Having a standard table with 4 chairs just wasn't efficient for the tiny space this was in, so I started playing with the idea of building a breakfast nook. I didn't want to bolt anything to the wall & risk ruing the shiplap, so I needed something that could stand on it's own! Thus, the idea of the L-Shaped waterfall bench was the solution! After searching Pinterest, I found quite a few tutorials on how to make a waterfall bench. We found this one to be the most helpful! My awesome husband and cousin put together our custom L-Shaped waterfall bench in a day! They are total rockstars! I stained it using Minwax Walnut stain (2 coats). It nestled into our little nook perfectly! I was so excited to find this white tulip table to complete our space! :)


This is our breakfast nook today! I completed the space by adding in all sorts of cozy details & decor. The pillows to soften the look of the bench, a hanging plant to bring life into the space, & all of the other small decor details you see.
This space slowly came together over the years. I am so happy with where it has landed! If you would like to know where to get my kitchen table, decor, etc. Please scroll down below to see the linked items!
Thank you so very much for taking the time to read this post. Please comment below with any questions you may have! If you loved this, Pin this to Pinterest to share with others!


link link link link link link link link link link link link link link link link link link link link link link link link link link link link link link link link link link link link link link link link link link link link link link link link link link link link link link link link link link link link link link link link link link link link link link link link link link link link link link link link link link link link link link link link link link link link link link link link link link link link link link link link link link link link link link link link link link link