How to paint wood furniture!
- Oct 15, 2020
- 4 min read
I found it! The furniture piece of my dreams. This gorgeous 2 piece hutch was found at a local thrift store. Thanks to Facebook Marketplace, I just happened to stumble upon it. I wasn't exactly looking for a furniture project when I found this - but the second I saw it, I knew it would have a place in our home!


Beneath all of those various wood finishes and materials, I could see the potential! This is my biggest furniture refinish ever. Here is how I did it!
SUPPLIES:


Here is a list of supplies I used along with alternatives
if you don't have a paint sprayer or sander:
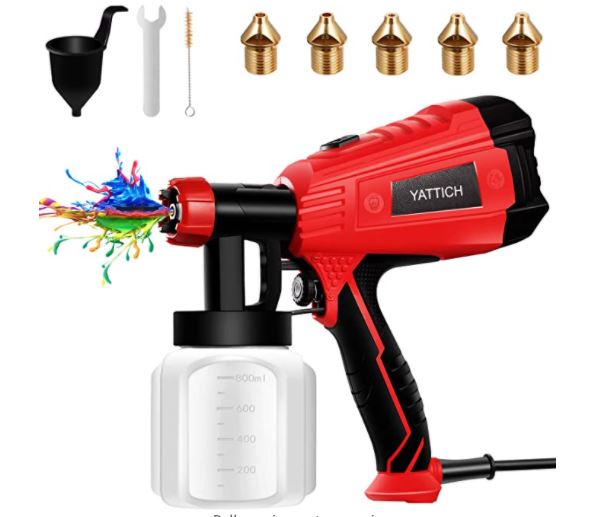
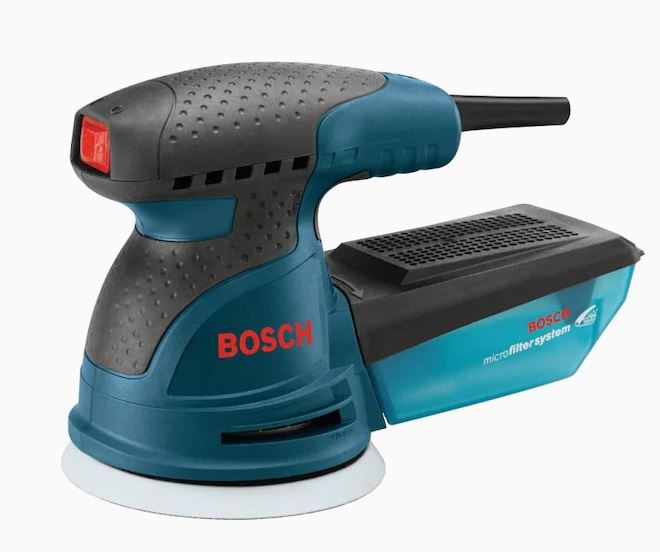
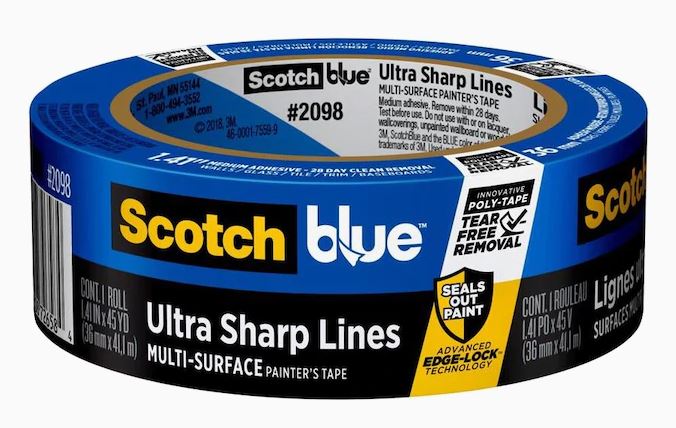
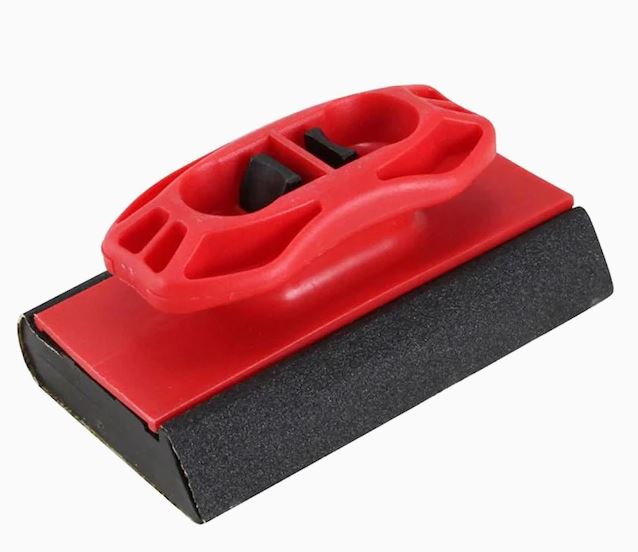
Primer - Showcase Paint in Satin - Polycrylic Sealer in Matte - Paint Sprayer - Circle Sander - TSP substitute - Painter's Tape - Foam Brush - ALTERNATIVES: Foam Roller - Sanding Block
PAINT COLORS:
Step 1: PREP!
This is my least favorite step, but it is the most important. Taking the time to do the prep makes the rest of the job smooth sailing.

Wipe your piece of furniture down with a damp rag. Get off all of the dust, cobwebs, bugs, etc. (In my experience, furniture flip projects tend to come with a few cobwebs or for this piece in particular - old pizza hut ads from 1980.)
Optional: Lightly sand it! I've refinished multiple pieces of furniture. I've sanded some, others I left alone because they were particle board or I just didn't feel like sanding it by hand... As long as you have a great primer coat & sealer - most of the time you are safe to skip this step! I have a circle sander so I decided to quickly go over this piece just to rough the surface up a little bit. You could also use an inexpensive medium grit sanding block.
Clean it off with a TSP substitute! Don't skip this step! It's super important to clean off your furniture piece with a TSP substitute. This will completely clear the surface in preparation for paint. It will get rid of oil & grime that may have collected over the years. It will also take away gloss finishes etc. So make sure you want to go through with painting your furniture piece! It is a heavy duty cleaner - wear gloves and protective eyewear when using. Follow the instructions on the back of the bottle for proper usage.
Here are great options! Krud Kutter - Prepaint Cleaner // TSP Substitue
If this step is skipped, you run the risk of your paint not sticking well or an old oil stain that was on the furniture piece soaking through and showing on your painted surface. (Trust me, I know this from experience.)
Lastly, Remove all hardware & use painter's tape to seal off places you don't want painted!

Step 2: PRIME!
When painting furniture, priming is so important! This is my favorite primer to use - Zinsser Bull's Eye
Priming blocks stains, gives you great surface for your paint color to stick to, AND helps prevent paint scratches & chips.
I used my paint sprayer to spray a nice even coat over the entire piece of furniture. If you are using a sprayer, make sure you reading the suggested thinning ratio on the paint you are using. If the paint comes out splotchy adjust your sprayer settings.
If you are NOT using a paint sprayer - foam rollers & foam brushes are the WAY TO GO! I may be a touch psycho about this, but I cant stand the appearance of brush strokes. So I like to use a 6" foam roller to evenly roll on my paint and primers. I will use a foam brush to get into hard to reach places and for touch up. The foam creates a nice smooth finish - no brush strokes in site!
Step 3: PAINT!
Now, moving on to the real action - applying a paint color! I always use a paint & primer combo. I like to have the best paint coverage possible. For this piece in particular - I used the paint colors "Black Magic" & "Downy" from the HGTV Home by Sherwin Williams collection. I did a Satin finish in both colors. This is the exact paint option I used - Showcase .It's a stain blocking paint & primer combo.
I applied two coats of the paint color using my paint sprayer. I painted the inside of the cabinet first. After it dried, I created foam core cut-outs to block the opening where the doors are. This prevented black paint from getting on the white interior of the hutch.

To hold the foam core in place - I cut it to be snug and used painters tape to seal the top, bottom, and sides of it. This also helped to a create a crisp line at the base of the cabinet where the white & black paint meet.
Once everything has dried, I removed the foam core. I took this time to do any touch ups using a foam brush. After that, I let it dry overnight.
Step 4: SEAL!
The finish line is so close! All that's left to do is to seal your painted furniture piece! Choosing a sealer is important - you don't want a sealer that will yellow overtime. That's why I always use my trusted Polycrylic sealers. For this piece, I used the Polycrylic Matte Finish.
I wiped down the hutch with a damp rag to remove any dust that may have collected on the surface. Once it dried, I used my paint sprayer to apply a nice even coat of the sealer.
The sealer locks in your paint - It provides a protective coat against scratches and also makes it very easy to clean.
After the sealer is dry... you're done!

Painting a piece of furniture can seem intimidating, but don't let that hold you back! With these tips & tricks you can revive any furniture piece!

XO - Haley
Love this tutorial? You can Pin it to Pinterest & save it for later! It helps me so much when you pin images from my site to Pinterest! Thank you so much for stopping by!


Comments